
Allows users to photograph themselves within a branded frame or team jersey.
Contents:
What is it?
The Photo Frame card allows users to photograph themselves within a branded frame or team jersey and share them on their socials.
See it in action
Watch it come to life
COMING SOON
How do I build one?
- Step 1: Add a Photo Frame card to your Hub
- Step 2: Create your Template
- Step 3: Set up your User Options
- Step 4: Set up your Data capture
- Step 5: Publish your card

Step 1: Add a Photo Frame card to your Hub
- Navigate to your Engagement Hub.
- Once there click Add content, from there select Media and then Photo Frame.
- Provide an internal name for the card.
- You will then see your new card has been added to your Hub.
Step 2: Build out your card
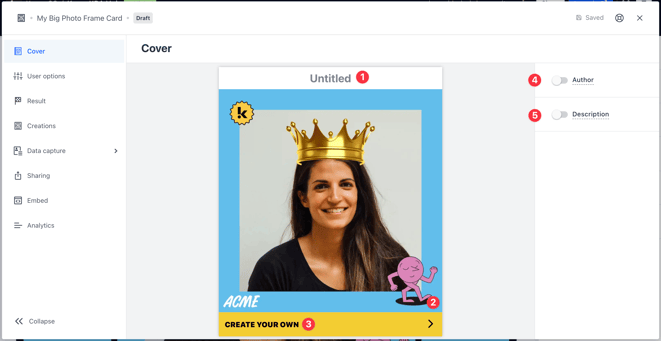
- Clicking the Photo Frame card on your Hub will take you to the card to start building. We will start with this initial phase. Here you will be creating the initial 'Frame' which will also act as the Cover image for your card.
- (1) Clicking here will allow you to set a title.
- (2) Here you will set up your Photo Frame Editor.
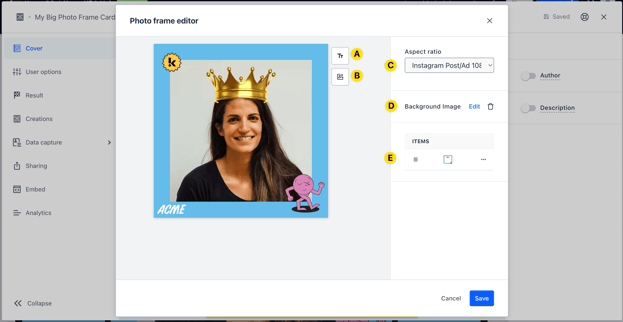
- (A) Here you can add text.
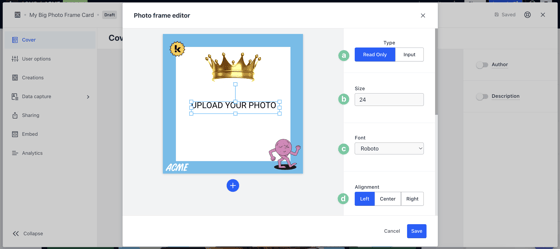
- (a) Here we can set whether the text can be editable by your end-users (Input) or not (Read-Only). On the right-hand side, you see a number of options you can alter to edit your selected text. User Input text boxes will show as orange.
- (b) Here you can change the font size of the text.
- (c) Here you can change the font of the text.
- (d) You can align the text according to your requirement.
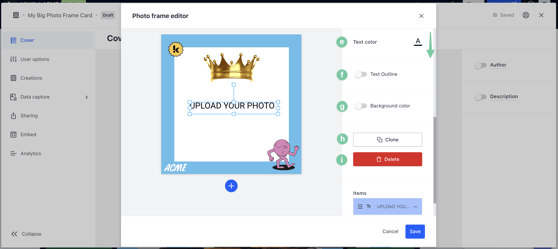
- (e) Scrolling down, you can alter the colour of the text.
- (f) You can outline your text giving it a prominent bold effect.
- (g) Alternatively you can set a background colour here.
- (h) Here you can clone the text.
- (i) You can delete the text box here.
- (B) Click here to add an image. Here is where you will upload your frame.
-
- (a) Ensure the frame covers the whole canvas.
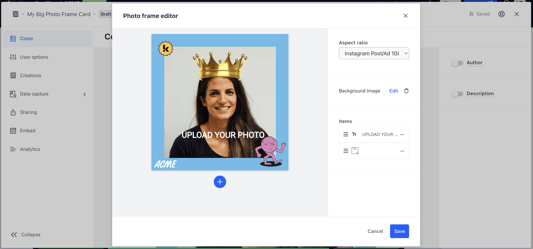
- (C) Select the Aspect ratio you would like users to upload their photos.
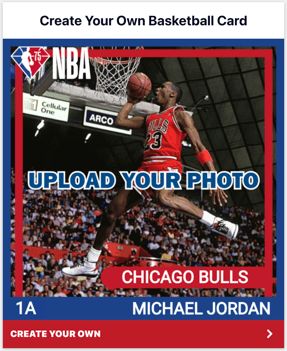
- (D) Here you are setting the default background image. Here is where you will upload your example image for your cover. See the example below:
Note: We recommend placing the text "Upload your photo" on the background image to encourage users to take their very own photos.
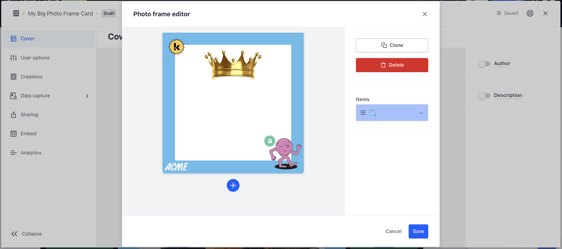
- (F) As you continue to add content to your Canvas you can rearrange this here.
Note: These image elements will remain regardless of what background image is selected.
- (3) Alter the colour and copy of the call-to-action bar.
- (4) You can add an Author tag by displaying the brand or person who's responsible for the card content.
- (5) Add a Description to the card.
Step 3: Set up your User options
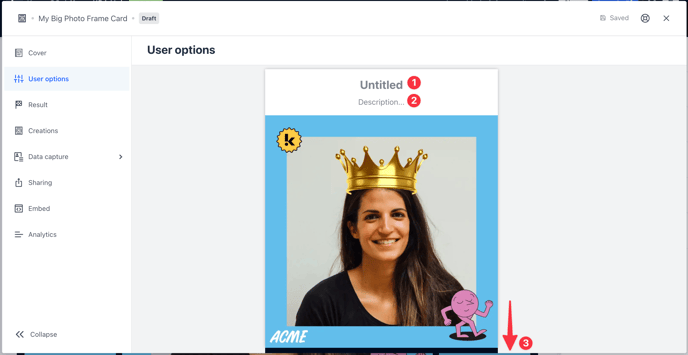
- (1) Here you are setting the title for your photo frame.
- (2) Enter a description.
- (3) Scrolling down, you can alter the colour and copy of the create button.
Step 4: Set up your Data capture (Optional)
Adding a Data capture to your card will require users to enter their details in order to download their creation.

Step 5: Publish your card
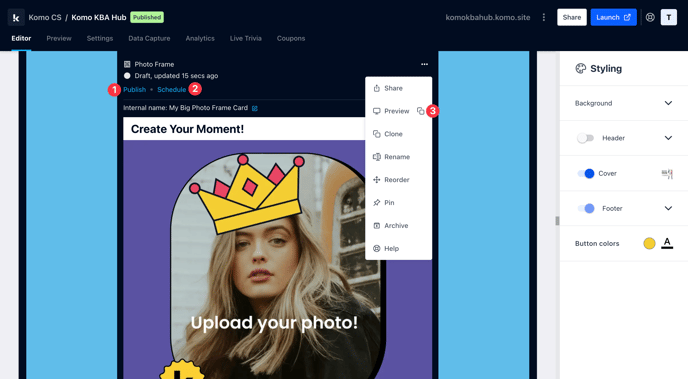
Once you've completed all of these steps, played around with your card and are happy with all the aspects of your card, it's time to get your card live!
- (1) Publish your card manually and instantly for the world to see.
- (2) Schedule your card to be published and unpublished at set dates and times.
- (3) Click on ... to Preview and interact with the card on the front end from a user's perspective before publishing it. See how to test your card here.
Note: All competition entries will be recorded and will impact the card analytics.

Promotion

FAQ
When a photograph is taken where is it stored?
If you go under the Creations tab you will be able to review and download all images that have been created on your card, within this card you will also be able to review the details of the user that have uploaded their photo.
Is there a way to see the number of creations made?
If you click on the card's Settings and then the Analytics tab, you can see a breakdown of stats relating to the card. Alternatively, you can check the number of creations made by clicking on the Creations tab and scrolling down to the bottom.
Can users take photos/selfies in the Photo Frame?
Yes they can! Users can take photos from their mobile, laptop or computer.
Top Tips
- Use a team guernsey and get users to upload a photo of themselves in support of their favourite team!
- Make a 'frame' for your meme canvas. A frame will be a border you put around an image and here you can include your logo/imagery. This frame will be permanent, so when users upload a photo, the frame will be visible each time. A frame is great to include as when users share their creations, it will include your logo/imagery and help promote your brand.
The frame will look like below:

The cover of the card will update as below:
One last note:
At Komo, we pride ourselves on not only the results our clients achieve with us but the service they receive whilst bringing their Hub's to life.
If you ever have any questions about an upcoming activation, how you can best utilise Komo to get the best possible outcome, or just a general query, please don't hesitate to reach out to your Customer Success Specialist or email us at support@komo.tech
We also love your feedback, so please let us know if this article helped you by selecting from the options below.
Louis Docherty
Head of Customer Success